
This Super Mario Bros World 6 walkthrough covers every stage from World 6-1 to World 6-4, including Lakitu, hidden 1-Up requirements, the Swim Area or Coin Heaven choice, lift timing, and Bowser’s hammer attacks. Use the original maps and tips below to clear World 6 without missing its most useful secrets.
World 6 at a Glance
| Level | Main challenge | Key secret |
|---|---|---|
| World 6-1 | Lakitu and sliding for coins | Hidden 1-Up and multi-coin blocks |
| World 6-2 | Choosing a bonus route | Coin Heaven C or Swim Area B |
| World 6-3 | Springboards and moving lifts | Jump when platforms are close |
| World 6-4 | Left-rotating Fire-Bars and hammers | Six hidden coin blocks |
Super Mario Bros World 6-1 Walkthrough
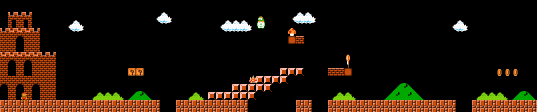
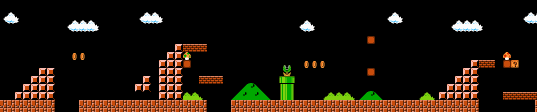
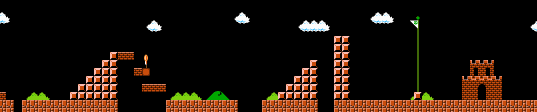
Lakitu returns in World 6-1. Wait on a high perch and jump on him or use a fireball before moving forward. The left block in the top set contains a power-up, while the far-right block in the lower set is a multi-coin block.
World 6-1 hidden 1-Up
Shortly before the pipe, deal with Lakitu from above, then jump from the lower block to reveal the World 6-1 hidden 1-Up. It appears only if you collected every coin in World 5-3 or used a Warp Zone to reach World 6-1, and it may fail to appear if Mario was hit in this area.
Slide for the multi-coin block
The far-right block in the middle formation contains another multi-coin block. Small Mario can collect it directly; Super Mario should run and slide underneath. Do not slide too far, or you may need to break the brick on the left to escape.
Super Mario Bros World 6-2 Walkthrough



World 6-2 asks you to choose a route. Swim Area B and coin room D offer 38 bonus coins and a power-up, while Coin Heaven C offers a potential 53 coins. Take the first option if you want the safer reward or need the power-up; otherwise, aim for Coin Heaven C.
Hidden blocks and Swim Area B
Jump between the two pipes to reveal a hidden coin block, then jump from it to find a multi-coin block. The left pipe leads to coin room E. The right side of the two-block set near the upper pipe contains a power-up; use it to jump over the pipe, then drop down the ground pipe before the mid-air pipe for Swim Area B.
Beanstalk to Coin Heaven C
Reveal the hidden coin between the first two pipes in the next area, climb onto it, and hit the far-right overhead block to release the beanstalk to Coin Heaven C. Cross the Buzzy pit by moving from pipe to block to high block. The left block in the final top set contains a Star.
Super Mario Bros World 6-3 Walkthrough
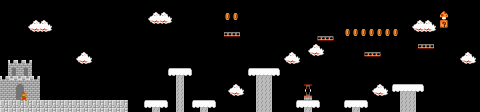
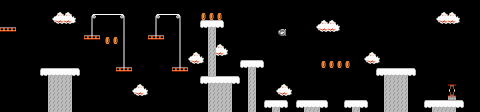
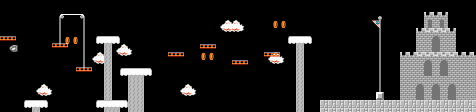
World 6-3 is about springboard and lift timing. Stand next to the Springboard, wait until both it and the lift are at their lowest positions, then jump. Collect floating coins by jumping up from the lifts rather than leaning over the edge.
Different lift speeds
After the first Springboard, begin collecting the coin row when the lift is farthest left, then move to the next lift for the rest. Adjacent lifts may move at different speeds, so jump when they are close together. The question block contains a power-up; try to catch it in mid-air as you cross to the right.
Four dropping lifts
The final four lifts drop under Mario’s weight. Cross them quickly with short, well-timed jumps instead of stopping to watch.
Super Mario Bros World 6-4 Castle Walkthrough


World 6-4 combines a low ceiling with Fire-Bars that rotate left. Clear them one at a time and do not rush the power-up if the timing is wrong.
Upper and lower Fire-Bars
The upper and lower Fire-Bars rotate in different directions. Jump when the lower Fire-Bar moves toward you and the upper Fire-Bar moves away. Six hidden coin blocks are placed in the same pattern as World 1-4, so reveal them only when the area is safe.
Bowser uses hammers
From World 6 onward, Bowser also throws hammers, and they can hit Mario on the lift. Stay alert to both the hammer arc and his fire breath. Fireballs or a carefully timed run underneath are safer than forcing a jump.
World 6 Tips for Beginners
- Fight Lakitu from a high, stable position.
- Pick the bonus route that matches your skill and need for a power-up.
- Jump between lifts when they are close, not when they are far apart.
- Watch Bowser’s hammers as well as his fire breath.
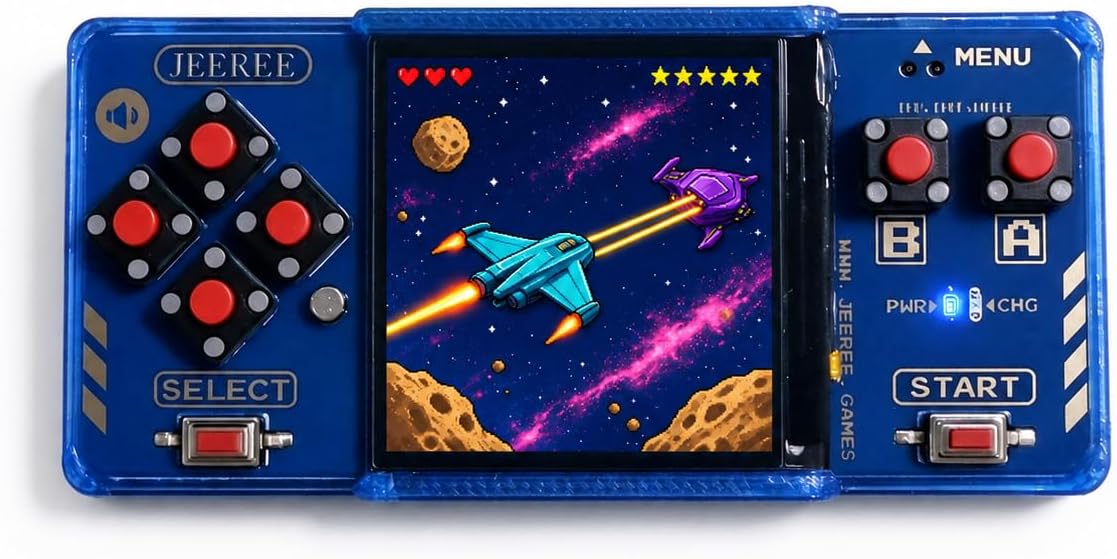
Keep Your Retro Games Pocket-Sized
If you enjoy revisiting classic 8-bit games away from your desk, take a look at the Jeeree Mini Retro Game Console. It combines a crisp 1.5-inch LCD with physical controls and USB-C loading for your own legally obtained ROMs, all in a 22g travel-ready design.
- 1.5-inch LCD
- USB-C ROM loading
- 22g travel-ready design
Super Mario Bros World 6 FAQ
Which bonus route should you choose in World 6-2?
Choose Swim Area B and coin room D for a safer reward and a power-up, or Coin Heaven C if you are confident you can collect more coins.
How do you cross the dropping lifts in World 6-3?
Use quick, short jumps with good timing. Waiting on a dropping lift will only take Mario down with it.
What new attack does Bowser use in World 6-4?
Bowser throws hammers in addition to breathing fire, and the hammers can hit Mario on the lift.