
This Super Mario Bros World 3 walkthrough covers every stage from World 3-1 to World 3-4, including hidden 1-Up requirements, coin rooms, Coin Heaven B, balance lifts, and the safest way through the castle. Use the original level maps and tips below to clear World 3 without missing its most useful secrets.
World 3 at a Glance
| Level | Main challenge | Key secret |
|---|---|---|
| World 3-1 | Hammer Brothers and block jumps | Hidden 1-Up and Coin Heaven B |
| World 3-2 | Large enemy groups | Kick and Run for extra lives |
| World 3-3 | Small islands and balance lifts | Sinking lift and flagpole timing |
| World 3-4 | Podoboos and rotating Fire-Bars | Safe refuge before the drawbridge |
Super Mario Bros World 3-1 Walkthrough



The second pipe is the entrance to coin room C. Stand on top of it and press down to collect the bonus coins before continuing. After the bridge, the leftmost block contains a Star, which is especially useful against the Hammer Brothers ahead.
World 3-1 hidden 1-Up requirement
The World 3-1 hidden 1-Up is above the right end of the bridge. It appears only if you collected every coin in World 2-3 or used a Warp Zone to reach World 3-1. Check this condition before spending time searching for it.
Coin Heaven B and the multi-coin block
Instead of relying only on the Springboard, accelerate and jump between the two block formations. Hit the right block to release the beanstalk to Coin Heaven B, then use the Springboard to reach it. After the four question blocks, the block second from the left is a multi-coin block, so take a moment to cash in.
Super Mario Bros World 3-2 Walkthrough



World 3-2 is packed with Koopa Troopas and Goombas, making it an excellent stage for the Kick and Run technique. Kick a shell through a line of enemies instead of stomping them one at a time. Skilled players can turn these enemy groups into extra lives.
Take the Star before the coins
The top block contains a Star and the bottom block is a multi-coin block. Take the Star first so you can collect coins while the enemies are easier to manage. Near the next pit, wait for the Star effect to end, then use another Kick and Run sequence through the Troopas for a potential 1-Up.
Piranha Plant and the flagpole
After the Koopa Troopas, wait for the Piranha Plant to retreat into its pipe. Collect the four coins above it, then jump down and avoid or stomp the five Goombas before heading for the flagpole.
Super Mario Bros World 3-3 Walkthrough


World 3-3 returns to small treetop islands. Wait for Goombas to drop to the lower island before stomping them, and approach the guarded power-up patiently. Do not jump down to a lower island if you cannot climb back up; staying high lets you collect more coins safely.
Watch the sinking lift
Mario’s weight makes the last lift in the first area sink. Jump to the island on the right as quickly as possible instead of riding it downward. This is one of the stage’s easiest places to lose a life.
Balance lifts and the flagpole
Use a balance lift to reach the lower horizontal lift, hop to the small island, then accelerate toward the coin island. Clear the flying Paratroopas before crossing. For the flagpole, wait on the left lift until the right lift rises, accelerate to the right lift, and jump to the top.
Super Mario Bros World 3-4 Castle Walkthrough


Podoboos launch from several pits, so move only after checking their arc. Cross when the Fire-Bars point downward. Later, Fire-Bars rotate in different directions: stay to the left, watch a full cycle, and then commit to your jump.
Fire breath and the drawbridge
The final pits are close together and Bowser’s fire breath adds pressure. If you need a safe moment, use the low spot to the right just before the drawbridge to reset your timing. Ceiling blocks make jumping awkward, so reaching the axe is usually safer than trying to clear Bowser with a risky jump.
World 3 Tips for Beginners
- Use Star power before entering large enemy groups.
- Practice Kick and Run in World 3-2 to earn points and possible extra lives.
- Treat sinking and dropping lifts as jump deadlines, not as safe platforms.
- Watch Fire-Bar patterns from a safe position before moving.
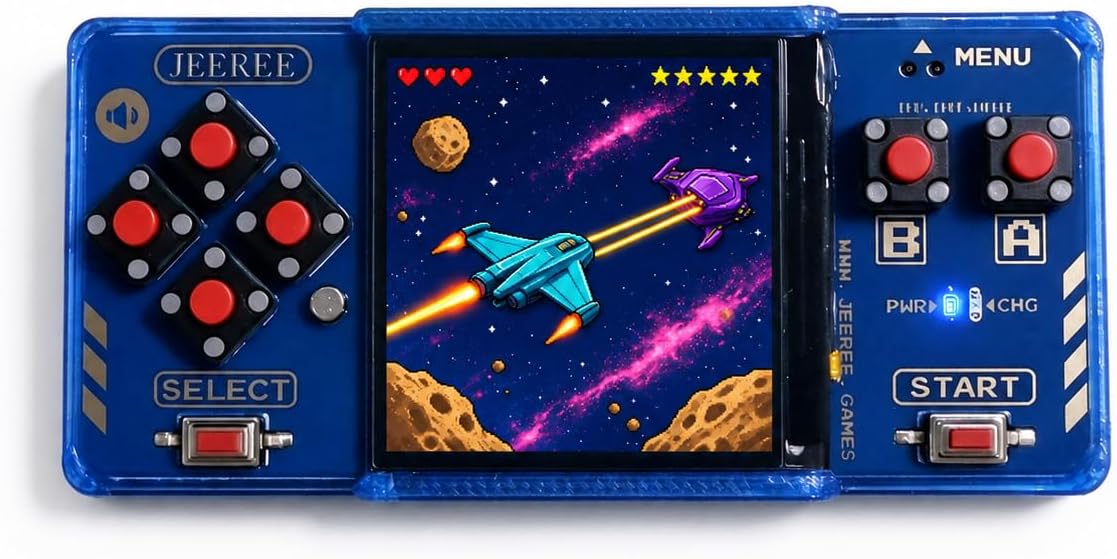
Keep Your Retro Games Pocket-Sized
If you enjoy revisiting classic 8-bit games away from your desk, take a look at the Jeeree Mini Retro Game Console. It combines a crisp 1.5-inch LCD with physical controls and USB-C loading for your own legally obtained ROMs, all in a 22g travel-ready design.
- 1.5-inch LCD
- USB-C ROM loading
- 22g travel-ready design
Super Mario Bros World 3 FAQ
How do you make the World 3-1 hidden 1-Up appear?
Collect every coin in World 2-3 or use a Warp Zone to reach World 3-1. The hidden 1-Up is above the right end of the bridge.
How do you reach Coin Heaven B in World 3-1?
Accelerate and jump between the two block formations, then hit the right block to release the beanstalk. Use the Springboard to climb up to it.
What should you do when the lift starts sinking in World 3-3?
Jump quickly to the island on the right. Waiting on the lift will only take Mario down with it.