
This Super Mario Bros World 1 walkthrough covers every stage from World 1-1 to World 1-4, including hidden 1-Up mushrooms, coin rooms, the first Warp Zone, and the safest ways to defeat Bowser. Use the maps and tips below to clear the opening world without missing its most useful secrets.
World 1 at a Glance
| Level | Main challenge | Key secret |
|---|---|---|
| World 1-1 | Goombas, pipes, and basic jumps | Hidden 1-Up and coin room A |
| World 1-2 | Underground platforms and enemies | Secret 1-Up and Warp Zone |
| World 1-3 | Treetop platforms and moving lifts | Carefully timed power-up collection |
| World 1-4 | Fire-Bars and Bowser | Six hidden coin blocks |
Super Mario Bros World 1-1 Walkthrough



The opening stage is the best place to practice controlled jumps. Stomp the first Goomba, but check the space above Mario before jumping; hitting an overhead block can knock Mario back into an enemy. The first Koopa Troopa can be handled the same way, although its shell will remain after the stomp.
Power-ups and coin blocks
- Work through the early question blocks instead of rushing past them. Mushrooms and Fire Flowers make the rest of World 1 much more forgiving.
- The regular block beneath the elevated question block is a multi-coin block. Keep hitting it quickly to collect as many coins as possible.
- The second block in the next block formation contains a Star. Save it for a crowded section if you want an easier run through the enemies.
World 1-1 hidden 1-Up and coin room
The World 1-1 hidden 1-Up is easy to miss. Stand on the sixth block from the edge of the last pipe and jump to reveal the invisible block. Collect the mushroom before continuing. The last pipe also leads to coin room A, so visit both the hidden 1-Up and the coin room before finishing the stage.
Near the end, take a measured jump over the gap between the staircases. Watch for Goombas moving beneath the final row of bricks, especially if Mario is jumping close to the ceiling.
Super Mario Bros World 1-2 Walkthrough
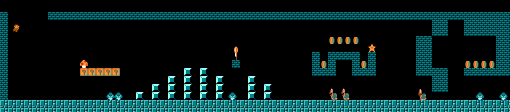
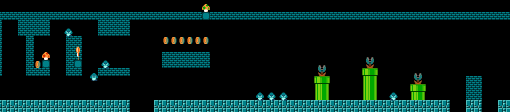
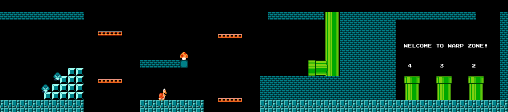
World 1-2 moves the action underground, where platforms and brick ceilings make jump control more important. Do not linger beside the early question block while Goombas are nearby. The lone brick is another multi-coin block, but clear the dangerous Goomba below it before farming coins.
Star and hidden 1-Up
When you reach the Koopa Troopas beneath a block formation, check the far-right block for a Star. Later, use the platform with six coins and the blocks beside it to reveal the secret 1-Up. Let the mushroom drop to a safe surface before collecting it; chasing it carelessly toward a pipe can put Mario in front of a Piranha Plant.
Coin room B and World 1-2 Warp Zone
The first green pipe leads to coin room B. Enter if you want the extra coins, then return to the main route. To reach the World 1-2 Warp Zone, ride the lift near the end of the stage and move up toward the ceiling instead of taking the normal exit. The hidden area lets you skip ahead to World 2, World 3, or World 4.
Super Mario Bros World 1-3 Walkthrough


World 1-3 is a timing stage. The red Koopa Troopa on the higher island will not come down, so you can focus on the Goombas that do. When collecting the power-up, grab the nearby coins first and then drop to the lower island so you do not fall while trying to reach it.
Koopa Paratroopas move up and down, making their timing less predictable than a standard Koopa. Wait for a clear opening and either stomp them at the right moment or jump over them. For the horizontal lifts, patience is safer than speed: wait until the platforms are close together, then jump. Rushing while they are far apart usually leads to a fall.
Super Mario Bros World 1-4 Castle Walkthrough


The castle’s rotating Fire-Bars are dangerous only when you force a jump at the wrong time. Watch a full rotation, then move as the bar turns horizontal and opens a safe path. Beginners should skip risky power-ups and focus on reaching Bowser with Mario intact.
Six hidden coin blocks
In the later corridor, six invisible blocks contain coins. Reveal the block above the third visible block, climb onto it, and continue revealing the next blocks with short jumps to the right. This is an optional coin route, so do not attempt it while a Fire-Bar is closing in.
How to beat Bowser in World 1-4
- Fire Mario: stand at a safe distance and throw fireballs until Bowser is defeated.
- Without fire: get past Bowser and grab the axe to collapse the bridge. Jumping over him is usually safer than running underneath, but you can also duck under him when he jumps if the timing is right.
World 1 Tips for Beginners
- Do not hold the run button constantly. Short, controlled jumps are more reliable in tight spaces.
- Look above Mario before stomping an enemy beneath bricks.
- Prioritize hidden 1-Ups and power-ups over risky coin routes when learning the game.
- Use the Warp Zone only if you want to skip content; playing Worlds 1 and 2 normally is better practice.
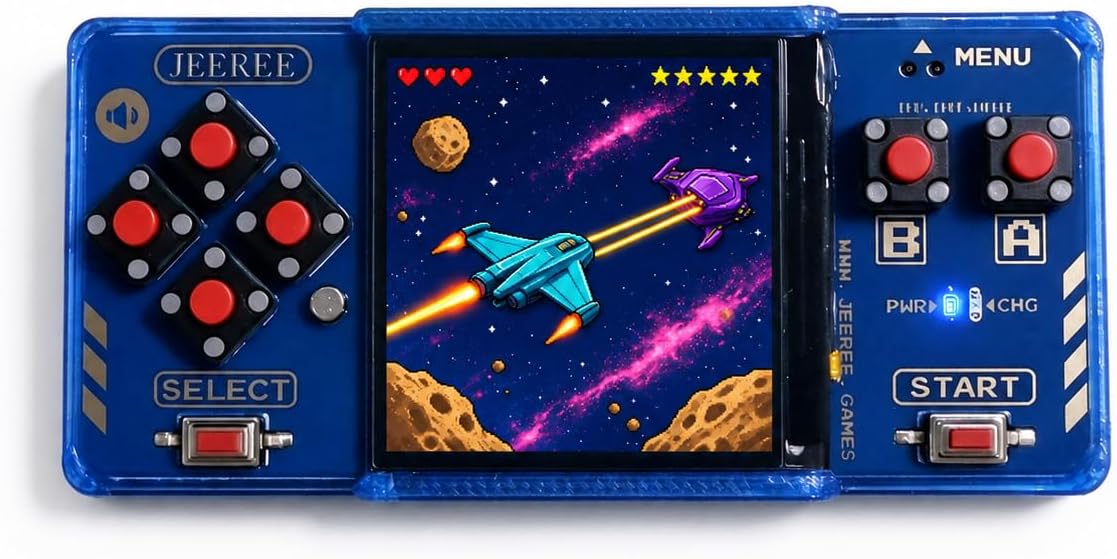
Keep Your Retro Games Pocket-Sized
If you enjoy revisiting classic 8-bit games away from your desk, take a look at the Jeeree Mini Retro Game Console. It combines a crisp 1.5-inch LCD with physical controls and USB-C loading for your own legally obtained ROMs, all in a 22g travel-ready design.
- 1.5-inch LCD
- USB-C ROM loading
- 22g travel-ready design
Super Mario Bros World 1 FAQ
Where is the hidden 1-Up in World 1-1?
It is in an invisible block near the last pipe. Stand on the sixth block from the edge of that pipe and jump to reveal it.
How do you reach the first Warp Zone?
Near the end of World 1-2, ride the lift and move toward the ceiling rather than taking the standard exit. The Warp Zone offers paths to Worlds 2, 3, and 4.
Can you defeat World 1-4 Bowser without Fire Mario?
Yes. Get past Bowser by jumping over him or moving underneath when he jumps, then touch the axe to drop the bridge.