
This Super Mario Bros. 2 (Japan) World 1 walkthrough covers the opening world of the Lost Levels, including poisonous mushrooms, coin rooms, hidden vines, Warp Zones, and the first Bowser battle. Use the original maps and tips below to clear World 1 without missing its most useful secrets.
World 1 at a Glance
| Level | Main challenge | Key secret |
|---|---|---|
| World 1-1 | Poisonous mushrooms and moving power-ups | Coin room A and shell tricks |
| World 1-2 | Hidden routes and several Warp Zones | Vines, roof routes, and hidden 1-Ups |
| World 1-3 | Balance lifts and airborne Bloopers | Safe landings and a running flagpole jump |
| World 1-4 | Fireballs, Fire-Bars, and Bowser | Use the columns for safe timing |
Super Mario Bros. 2 Japan World 1-1 Walkthrough
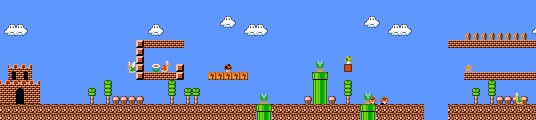
World 1-1 immediately warns you that the Lost Levels play differently. Two question blocks contain poisonous mushrooms, so do not assume every block is helpful. The first useful power-up is in an enclosed area and slides back and forth; hit it from below so it bounces over the wall instead of chasing it into danger.
Shells and the last pipe
After flipping the Koopa on the top row, kick the shell to the right to clear the enemies below. The last pipe in the middle section leads to coin room A. Approach it from the right side, because jumping in from the left can send Mario into the pit.
Final power-up and exit
Do not miss the power-up in the last question block below the pipe. The rightmost pipe is the exit from coin room A, and you can find another power-up inside the coin room itself.
Super Mario Bros. 2 Japan World 1-2 Walkthrough
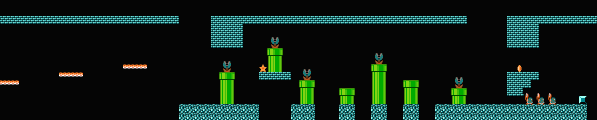
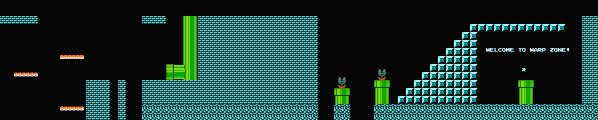

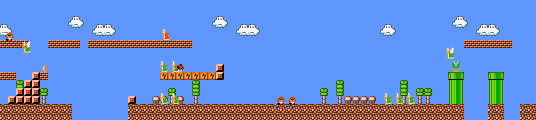
World 1-2 offers several different routes. If you need a power-up, look in the ceiling above the first staircase and chase it to the opening. A hidden block after the second pipe can become a stepping stone to the vine in the ceiling; climbing it leads to a Warp Zone to World 3.
Roof route or lower route
The roof is the safer way to avoid many of the obstacles below. If you take the lower route, you can find two power-ups and two 1-Ups. Do not knock either 1-Up back, or you may replace it with a power-up. Super-sized characters can reach both a Fire Flower and a 1-Up, while regular characters may have to choose.
Star and alternate exits
After the first pipe in the next section, collect the invincibility Star and time your jumps around the Piranha Plants. The first pipe in the final area leads to the standard level end. Climbing to the ceiling instead leads to an alternate exit and a Warp Zone to World 2. Dropping down the lower pipe takes you to the final hidden section.
Low overhang and World 4
The easiest way through the low overhang is to become small and run across the gap. If you want to stay Super, slide beneath the first column and build enough speed to duck through at the last moment. Two hidden coin blocks near the pit can be used as steps to a Warp Zone to World 4. The very last pipe leads to coin room B instead.
Super Mario Bros. 2 Japan World 1-3 Walkthrough
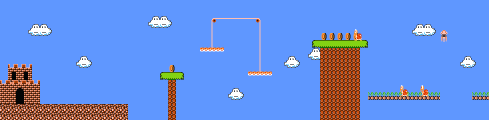
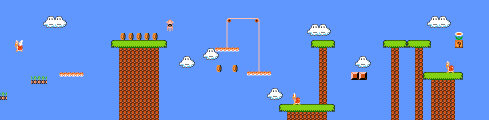
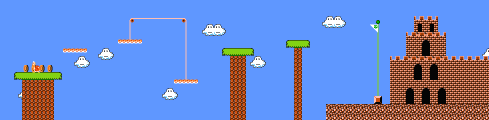
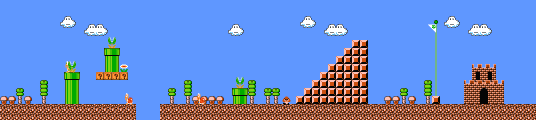
World 1-3 begins with balance platforms. Stand on the left platform and let it sink as the right platform rises, then jump to higher ground. Bloopers can now appear in mid-air; lead one to the left, turn around, and stomp it when it drops to attack.
High bluff and the power-up
There is little room to run on the high bluff, so react quickly when another Blooper approaches. If you are small, the power-up will slide to the right; pop it out and collect it from the left side.
Flagpole finish
There is no staircase at the end, only two treetops. Build a running start and leap to the flagpole.
Super Mario Bros. 2 Japan World 1-4 Castle Walkthrough


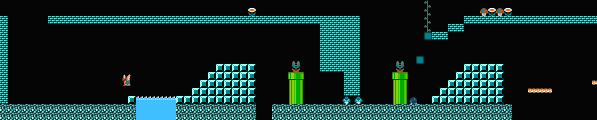
The first power-up is high and close to the edge. Small characters can pop it out and collect it while jumping over the gap. Super-sized characters should approach from the left to avoid falling into the pit. In the next tight passage, duck before jumping to give yourself more clearance.
Fireballs and rotating Fire-Bars
Bowser’s fireballs and the rotating Fire-Bars create two separate timing problems. The three columns in the middle section are useful barriers: jump on top of them and wait for a safe opening before continuing.
How to beat Bowser in World 1-4
Fireballs can finish Bowser with five hits. Without them, run past Bowser to the right and cut the bridge with the axe. Choose the opening instead of forcing a jump through the Fire-Bars.
World 1 Tips for Beginners
- Do not assume every question block is a power-up in the Lost Levels.
- Use the roof in World 1-2 if the lower enemies are giving you trouble.
- Become small for the easiest route through the low overhang.
- Use the three columns in World 1-4 to wait out fireballs safely.
Keep Your Retro Games Pocket-Sized
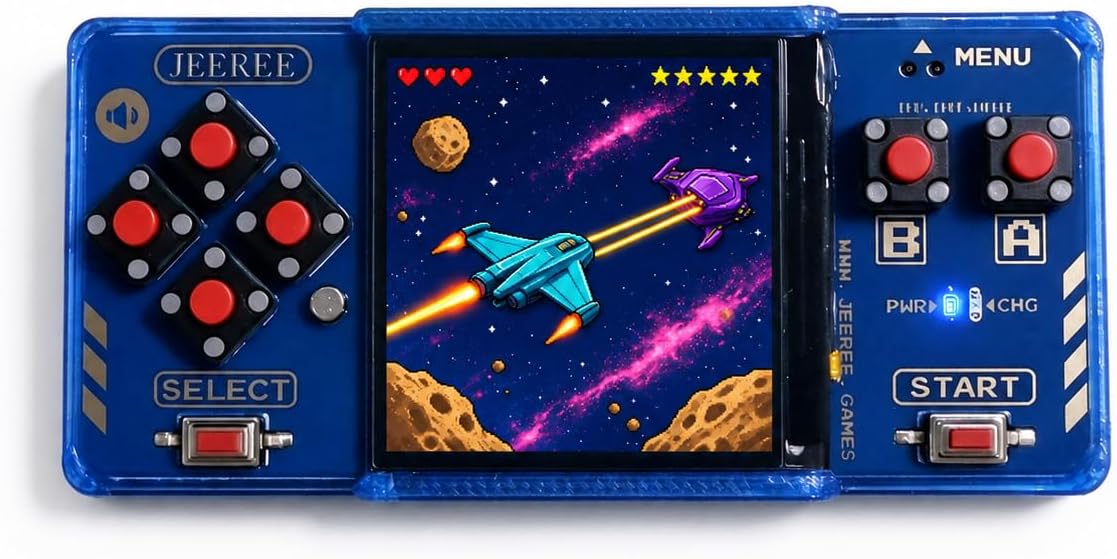
If you enjoy revisiting classic 8-bit games away from your desk, take a look at the Jeeree Mini Retro Game Console. It combines a crisp 1.5-inch LCD with physical controls and USB-C loading for your own legally obtained ROMs, all in a 22g travel-ready design.
- 1.5-inch LCD
- USB-C ROM loading
- 22g travel-ready design
Super Mario Bros. 2 Japan World 1 FAQ
How do you reach the World 3 Warp Zone in World 1-2?
Use the hidden block after the second pipe as a stepping stone, then climb the vine in the ceiling.
What is the easiest way through the low overhang in World 1-2?
Become small and run across the gap. Staying Super requires a much more difficult slide at the last moment.
How many fireball hits does Bowser take in World 1-4?
Bowser can be defeated with five fireball hits. You can also run past him and use the axe to drop the bridge.