
This Super Mario Bros. 2 (Japan) World 7 walkthrough covers every stage from World 7-1 to World 7-4, including wind-assisted jumps, bonus rooms, Lakitu, Super Springs, and the castle’s downward lifts. Use the original maps and tips below to clear World 7 without missing its most useful secrets.
World 7 at a Glance
| Level | Main challenge | Key secret |
|---|---|---|
| World 7-1 | Piranha Plants, Hammer Brothers, and wind | Bonus room chain and hidden 1-Ups |
| World 7-2 | Repeating platforms and Lakitu | Coin room D and a fire-power restart |
| World 7-3 | Super Springs and offscreen jumps | Wind control and a full-speed flagpole route |
| World 7-4 | Downward lifts and Fire-Bars | S-shaped safe corner and a counter-clockwise final Fire-Bar |
Super Mario Bros. 2 Japan World 7-1 Walkthrough
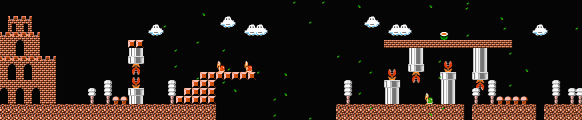
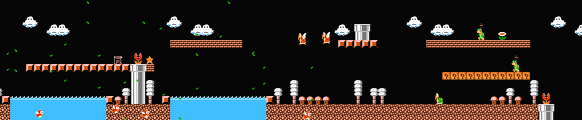
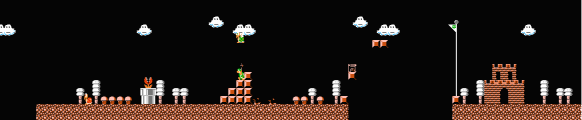

Watch the dual Piranha Plants at the start and run when the pipes are clear. A strong gust blows to the right: after knocking out the Koopas, run and ride the wind over the gap. Near the end, leap to the top platform, then jump left and let the wind carry you right again.
Bonus room chain
Bounce off the Koopa Paratroopa pair to reach the very high pipe. This leads to a chain of bonus areas: coin room F, a long windy stretch, and then coin room E before returning to the main route. If you take the ground route, stomp the wandering Koopa early and wait for the Hammer Brothers to drop before sending the shell through them. An invisible 1-Up block sits near the end of the brick row with the Hammer Brothers.
Windy stretch and Hammer Brothers
Watch the Hammer Brother on the mini-staircase and avoid the Buzzy Beetles beyond him. In the long windy stretch, knock down the first Koopa Paratroopa and kick the shell right for a chance at a 1-Up.
Super Mario Bros. 2 Japan World 7-2 Walkthrough

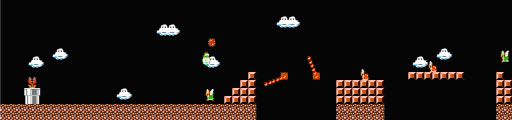
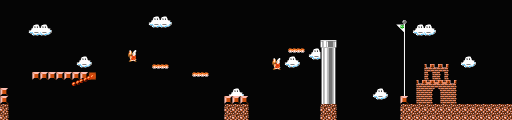
World 7-2 repeats at the platform until you enter the pipe in the air. Bounce off the Koopas and climb. Before continuing, you will be treated to coin room D, so you will not need to repeat the first section.
Fire-power restart
If you are small, collect the mushroom in this area, then find the hidden Fire Flower in coin room D to start the next section with fire power. If you die anywhere in this level, you restart from the beginning, which gives you another opportunity to bring fire power to the Lakitus and Spinies ahead.
Lakitu and the final pipe
Knock Lakitu out of the sky before jumping to the Fire-Bar platforms. If you want to experiment with sprite limits, leave Lakitu alive and let the Spinies accumulate; one or both Fire-Bars may disappear, but this is risky. Before the final pipe, hit the back of the Koopa Paratroopa, jump onto the falling platform, and jump again to the relative safety of the pipe.
Super Mario Bros. 2 Japan World 7-3 Walkthrough
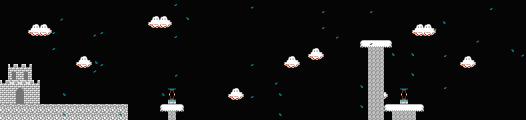
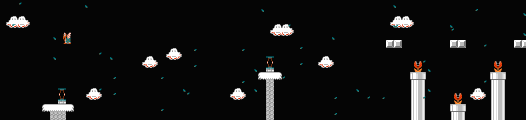
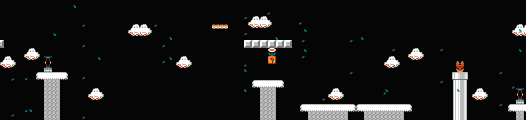
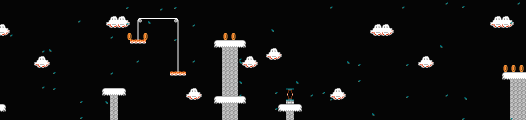
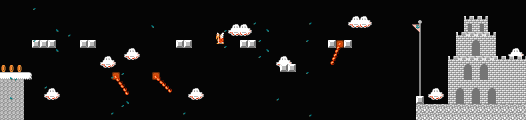
World 7-3 features wide open spaces and Super Springs. Wait for the flying Koopa to move to one side before taking off. When your character is in the air and off the screen, move right until the target platform is centered, then wait for him to drop.
Fire Flower and hang time
You can collect a Fire Flower by crouching, waiting for the wind to carry you, and crouch-jumping at the right moment. Learn your character’s hang time so you do not overestimate how far Mario or Luigi can travel.
Safe platforms and full-speed jumps
Landing on the left platform of the pulley can be risky, so scroll far enough right to keep a safe barrier to your left. You do not need to dash in this section; accurate leaps matter more. The wind stops before the final Fire-Bar, so your jumps become shorter and may need a dash. A faster route is to run along the coin platform at full speed and jump from one upper platform to the next without slowing down.
Super Mario Bros. 2 Japan World 7-4 Castle Walkthrough
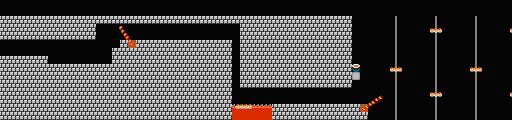
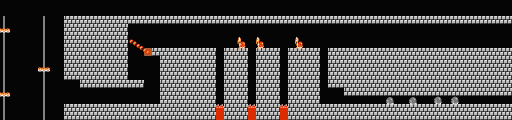
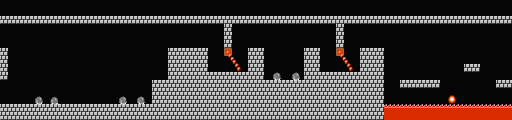
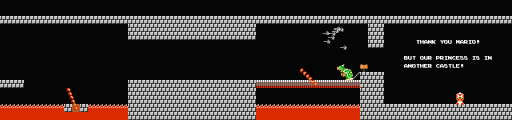
Take the short set of stairs in one big leap rather than climbing step by step. All five lifts in the next sections move downward. Jump from the hidden power-up block and aim high, then continue across the gap. Super-sized characters may need to wait for the final lift to come close to the bottom, or jump to the very top and land backwards.
S-shaped safe corner and divided halls
The Fire-Bar will not reach you if you duck in the lower corner of the S-shaped passage. Wait for it to rotate out of the way, then leap to the top and run. Wait for each Koopa to move away before dashing across the gaps and stomping them. The narrow bottom level of the divided halls is dangerous; regular characters can jump on a Buzzy Beetle and bulldoze the others away, while Super characters need a more careful dash-and-duck approach. A red Koopa can also provide a 1-Up with the bulldoze technique.
Final Fire-Bar and Bowser
Watch the Fire-Bars from the safety of the corners and move when the path is clear. One final jump to the Fire-Bar island stands between you and Bowser, who now throws hammers. The Fire-Bar on the drawbridge rotates counter-clockwise, making it harder to run underneath him.
World 7 Tips for Beginners
- Use wind-assisted jumps instead of fighting every gap directly.
- Bring fire power to World 7-2’s Lakitu and Spinies.
- Learn the wind’s stopping point before attempting the final platforms.
- Use the S-shaped corner to wait out the Fire-Bar safely.
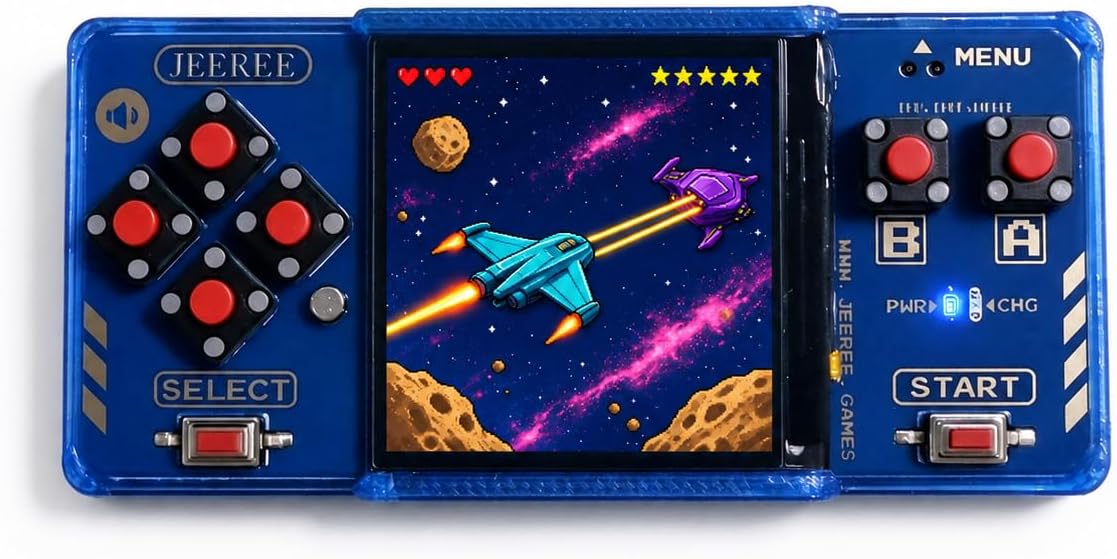
Keep Your Retro Games Pocket-Sized
If you enjoy revisiting classic 8-bit games away from your desk, take a look at the Jeeree Mini Retro Game Console. It combines a crisp 1.5-inch LCD with physical controls and USB-C loading for your own legally obtained ROMs, all in a 22g travel-ready design.
- 1.5-inch LCD
- USB-C ROM loading
- 22g travel-ready design
Super Mario Bros. 2 Japan World 7 FAQ
How do you reach the bonus room chain in World 7-1?
Bounce off the Koopa Paratroopa pair to reach the very high pipe. It leads to coin room F, a windy stretch, and coin room E.
What should you do when your character goes offscreen in World 7-3?
Move right until the target platform is centered, then wait for your character to drop back into view.
How do you handle the counter-clockwise Fire-Bar in World 7-4?
Watch from a safe corner and move only when the path is clear. The counter-clockwise rotation makes running underneath Bowser harder, so do not rush.